For pipelines in use, we mainly test their safety through non-destructive testing. The five conventional methods of NDT include: radiographic testing (RT), ultrasonic testing (UT), magnetic particle testing (MT), penetration testing (PT) and eddy current testing (ET). Among them, RT and UT are mainly used for detecting internal defects of the specimen, PT is mainly used for detecting defects on the surface of the specimen, and MT and ET are mainly used for detecting defects on the surface and near surface of the specimen.
RT: When rays penetrate an object, they interact with the material and their intensity is reduced by absorption and scattering. The degree of intensity attenuation depends on the attenuation coefficient of the substance and the thickness of the radiation traversing the substance. If there is a localized defect in the object (test piece) being illuminated, and the attenuation coefficient of the material constituting the defect is different from that of the test piece, the intensity of the transmitted rays in this localized area will differ from that of the surrounding area. The film is placed in the proper position to be sensitized by the transmission rays, and the negative is processed in the darkroom. According to this, the evaluator will judge the defects and evaluate the quality of the specimen.
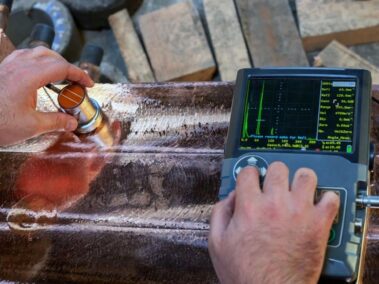
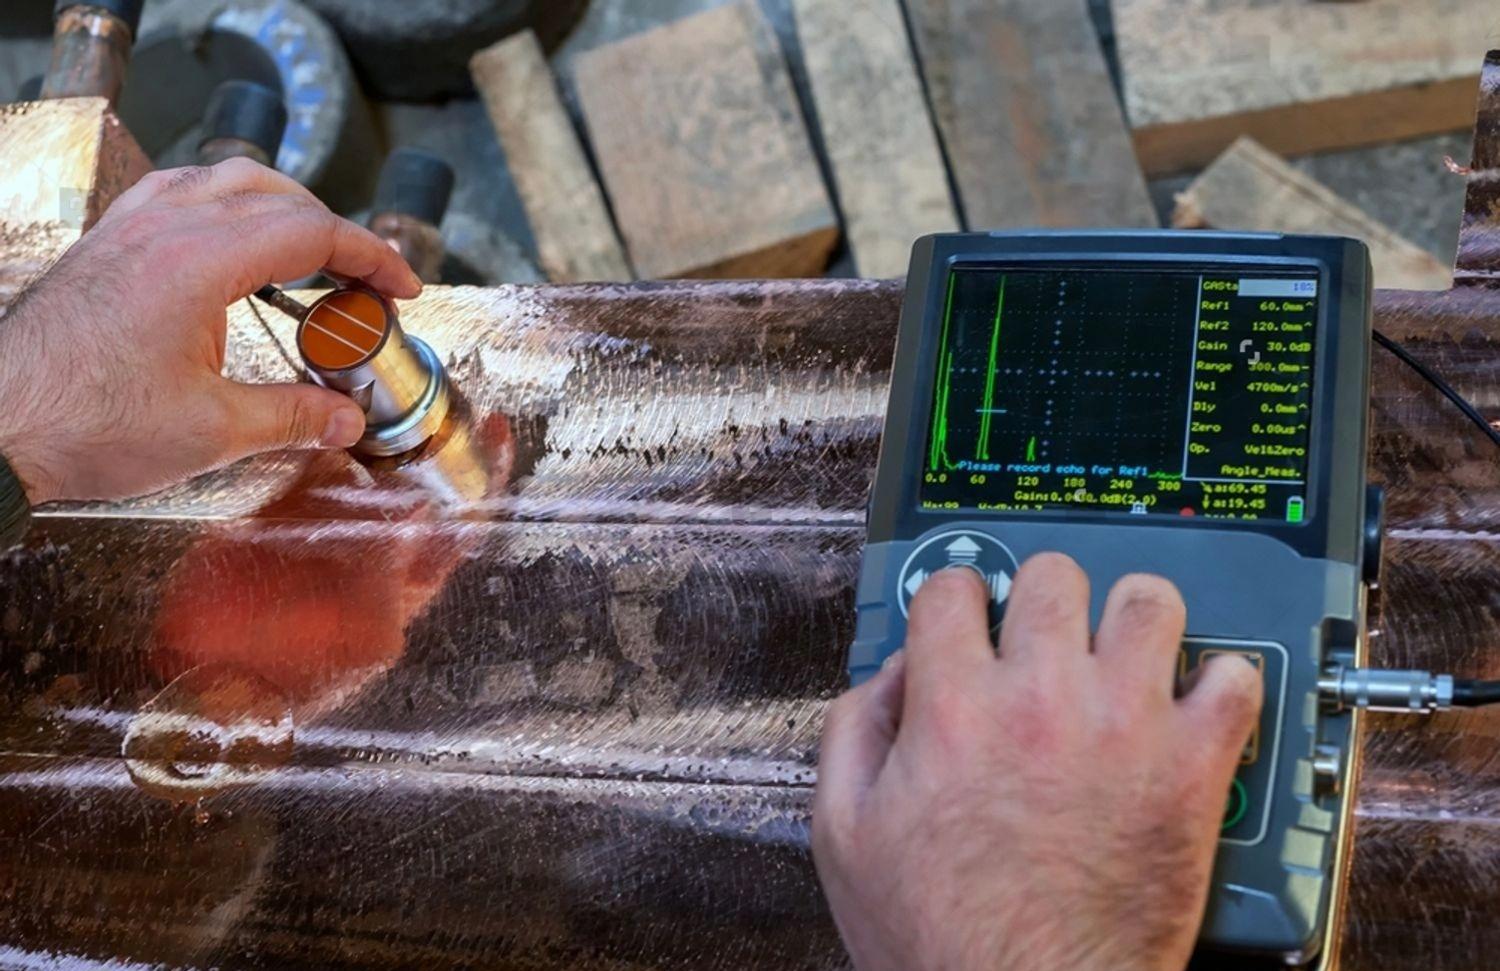
Ultrasonic testing UT: ultrasonic flaw detection is the use of materials and their defects in the acoustic properties of the difference between the ultrasonic propagation waveform reflection and penetration time of the energy changes in order to test the material defects within the non-destructive testing methods. Pulse reflection method: pulse reflection method has longitudinal wave flaw detection and transverse wave flaw detection. In the ultrasonic instrument oscilloscope screen, the horizontal coordinates represent the propagation time of the sound wave, the vertical coordinates represent the echo signal amplitude. For the same uniform medium, the propagation time of the pulse wave is proportional to the acoustic range. Therefore, the appearance of echo signals from defects to determine the existence of defects; echo signals can appear by the location to determine the defects from the detection surface of the distance to realize the defects localization; through the echo amplitude to determine the equivalent size of the defects.
Magnetic particle detection MT: When the ferromagnetic material is magnetized, its internal magnetic induction intensity will be very strong, the magnetic line density increases hundreds to thousands of times. If there are discontinuities in the material (including discontinuities caused by defects and discontinuities caused by structure, shape, material, etc.), the magnetic lines of force will be distorted, and some of them may escape from the surface of the material and pass through the space, forming a leakage magnetic field. The local poles of the leakage field can attract ferromagnetic substances. The distribution of ferromagnetic substances can be used to understand whether there are defects in the pipeline.

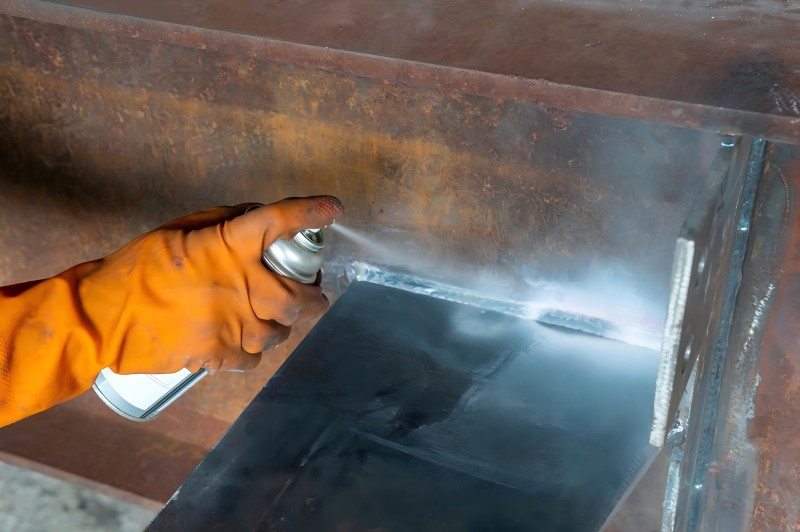
Penetration Testing PT: After the surface of the part is coated with a penetrant containing fluorescent or coloring dyes, the penetrant is able to penetrate into the open defects on the surface after a certain period of time under the action of capillary tubes. After removing the excess penetrant from the surface of the part, a developer is then applied to the surface of the part, and again, under the action of the capillary tube, the developer will attract the penetrant retained in the defects, and the penetrant will seep back into the developer. Under a certain light source (ultraviolet light or white light), traces of the permeate at the defect will be displayed (yellow-green fluorescence or bright red), thus detecting the morphology and distribution status of the defect.
Eddy current inspection ET: Using the principle of electromagnetic induction, an alternating current called eddy current is generated by an alternating magnetic field inside the workpiece, and information such as defects and the shape and size of the workpiece are evaluated by measuring the changes in the induced eddy current inside the inspected workpiece. Each inspection method has its own characteristics, combined with different environments and needs, the inspection team will make a treatment plan.
#JSFITTINGS #RAYOUNG #STEELPIPE #FLANGE #STEELPIPE #MADEINCHINA #MANUFFACTURER #FACTORY #PIPEELBOW #PIPE REDUCER #INDUSTRYFLANGE
Email: admin@jsfittings.com
Whats App: 008618003119682


